
ℹ️ Certificate issuance note: For meetings taking place after 4:30 PM or on weekends, the signature will be issued on the next business day.
Step 1: Requirements and preparation - what do you need to have ready?
To ensure the verification goes smoothly and quickly, please prepare the following before the meeting:
- Physical ID document: A valid national ID card or passport.
⚠️ Important: The mObywatel app is not accepted.
- Polish personal bank account: You must be the sole owner of the account. It will be used for a refundable verification transfer of 1 PLN.
Supported banks: ING Bank Śląski, mBank, PKO Bank Polski, Erste Bank, Bank Pekao S.A., Bank Millennium, Alior Bank, Credit Agricole, Inteligo, BNP Paribas, VeloBank, Bank Pocztowy, Bank Ochrony Środowiska, NeoBank.
Note: We do not accept transfers from business accounts or accounts where you only hold power of attorney.
- Equipment and network: A desktop computer or laptop with a camera and microphone, a stable internet connection, and a mobile phone (to receive a verification link via SMS). We recommend using the Google Chrome browser.
- Email address: Your personal email address.
Step 2: Scheduling a video meeting
Choose a convenient date and time for your remote identification using the scheduling calendar.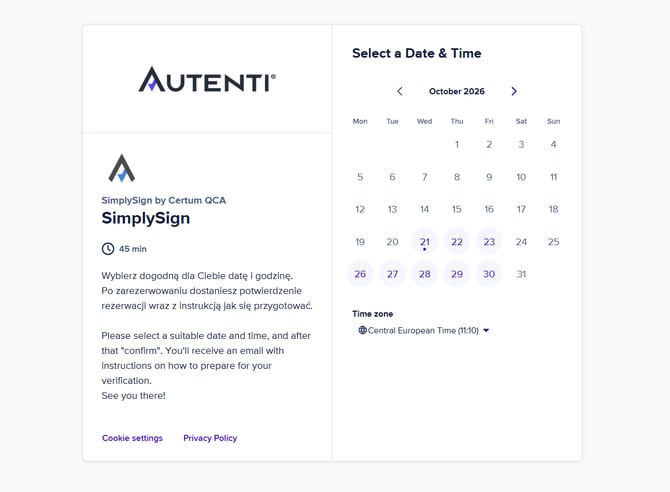
Once booked, you will receive a confirmation email containing a link to the video meeting (MS Teams or Webex).
Step 3: Completing the application and verification (Meeting procedure)
During the call with the consultant, you will complete the following steps:
- Joining the meeting
Connect with the consultant via the link provided in the email. The consultant will check the audio/video quality and ask for your consent to record the session (a formal requirement). - Completing the application and Certum account
Open the email from CERTUM PCC ("Invitation to complete a certificate application") and click the link. Create an account in the Certum Panel (set a password for your account).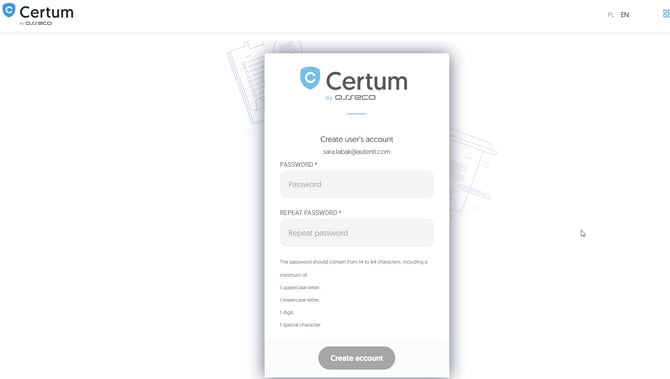 Fill in your personal details exactly as they appear on your ID document (including all names and special characters).
- Verification transfer (1 PLN)
Make a 1 PLN verification transfer from a personal bank account on the list of supported banks.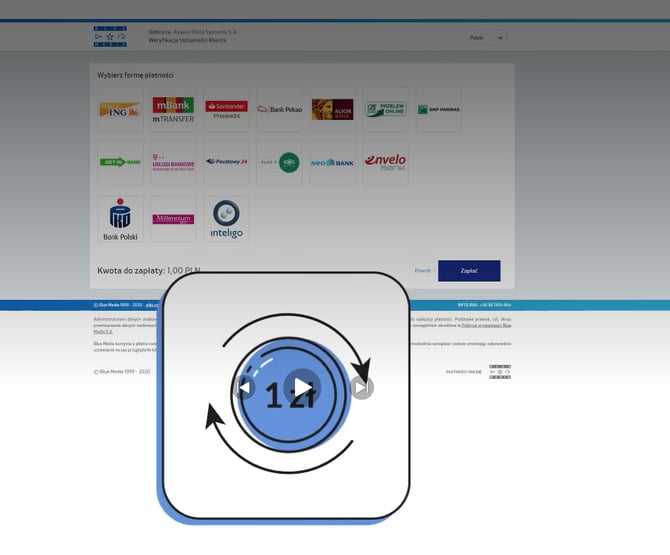
- Identity verification and phone check
- Present your ID document and face to the computer camera as instructed by the consultant.
- Open the SMS link sent to your mobile phone by the system, take photos of your document, and record a short video of your face.
Step 4: Issuance and activation of the certificate
Upon successful verification, your application will be forwarded to Certum. You will receive an email confirming the issuance of the certificate along with detailed instructions on how to activate it in the SimplySign app.
💡 Good to know
- Do you have a foreign ID and want your PESEL number in the certificate?
Send us a scan of the document confirming your PESEL assignment, such as a residence card. - Don't have a PESEL number?
Your ID document must be valid at least for as long as the requested certificate. - Do you want your NIP (Tax Identification Number) in the certificate?
We require a document confirming your personal NIP, such as an entry in the CEIDG register. A company NIP cannot be used here.