
Important – Access requirements: Access to the Autenti API requires an active API integration module on your organization's account. Make sure that the module is enabled. If you wish to purchase or activate access to the API, please contact our Sales Department.
Step 1: Go to integration settings
- Log in to your account on the Autenti platform.
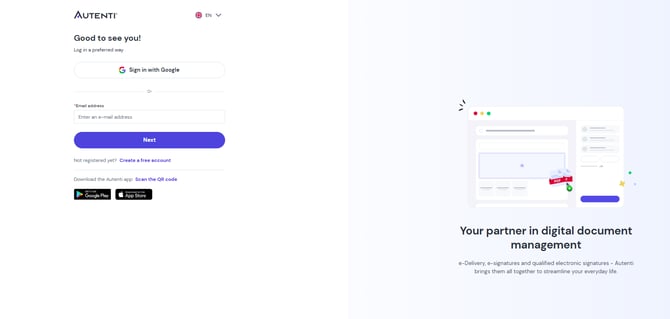
- In the side menu, go to the Settings section.
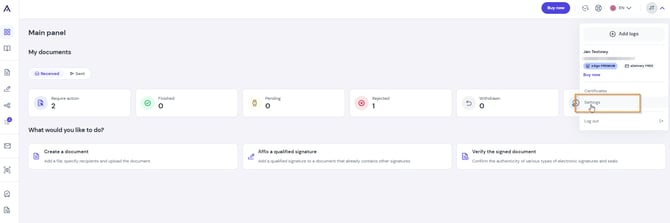
- Select the Integrations tab.
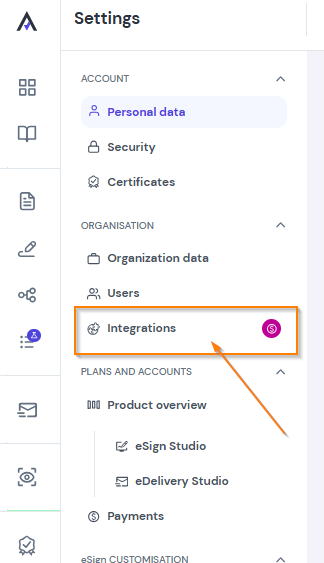
- Click the Add new button.
Step 2: Fill out the application configuration form
Fill out the form fields according to your system's needs:
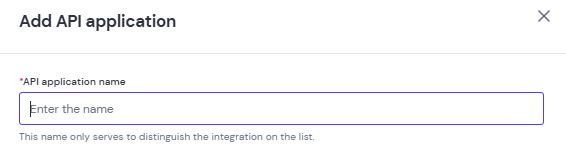
- API application name: Enter a name that will allow you to easily identify the integration on the list (e.g., CRM Integration, HR System - Production).
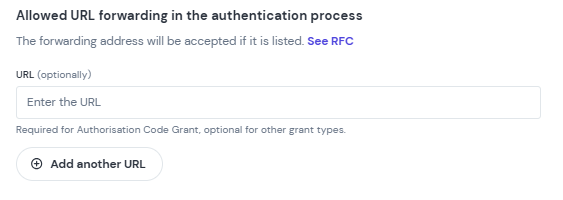
- Allowed redirect URLs:
- Allowed redirect URLs for authentication using Authorization Code Grant (required).
- Allowed redirect URLs after performing an action on a document (optional).
- You can add more than one address using the Add another URL button.
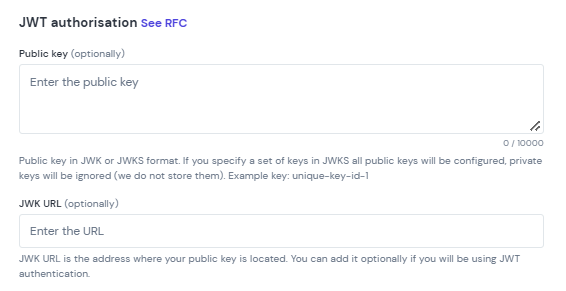
- JWT Authorization (Optional):
- Public Key: You can paste a public key in JWK or JWKS format (up to 10,000 characters). If you provide a set of keys in JWKS format, all public keys will be configured (private keys are ignored for security reasons).
- JWK URL: Alternatively, you can provide the URL where your public key is located.
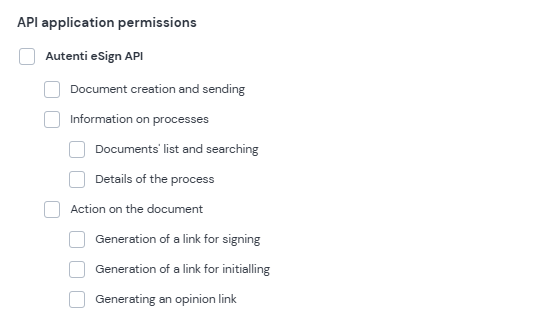
- API application permissions (scope): Select the client application permissions to specify which features the application has access to. Without granting the appropriate permissions, the application will not be able to perform related actions (e.g., creating and sending documents).
-
After filling out the form, click the submit button to add the new API application.
Step 3: VERY IMPORTANT - Save your secret key (Client Secret)
After successfully adding the API application, a summary displaying your secret key will appear on the screen.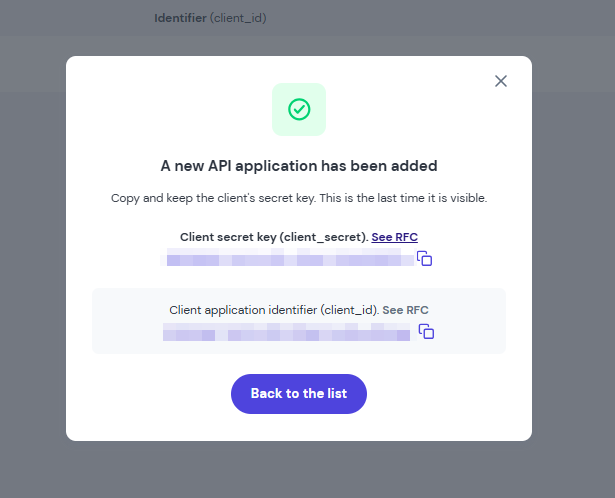
Note: Copy and save the client secret key. This is the only time it will be visible. After closing the window, it will no longer be possible to read this key again. Store it in a secure location (e.g., in a password manager or encrypted environment variables).
Important: An application can only have one active client secret at a time. You can generate a new key in the future, but doing so will invalidate the previous key.
What’s next? After obtaining your Client ID and Client Secret, you can proceed to authorization in accordance with the documentation.