
Creating a form step-by-step
Step 1: Go to interactive forms
-
Log in to your Autenti account.
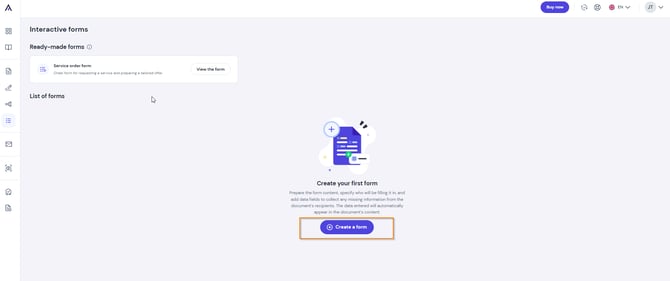
- In the left side menu, click the list icon (fourth icon from the top) – Interactive forms.
- Click the Create a form button.
Step 2: Choose how to start
On the start screen, choose one of the two working methods: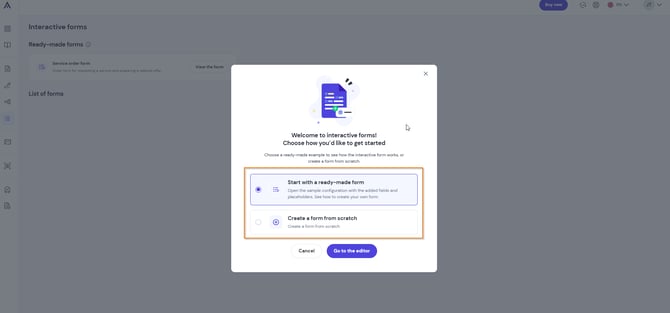
Option A: Start with a ready-made form
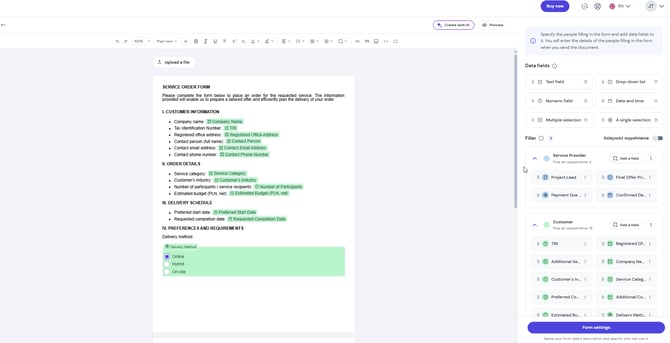
You will be taken to the editor with a ready-made template (Service Order Form), which includes a sample document, added fields, and defined recipient roles.
- Modifying fields: You can edit existing fields, remove them, or add new ones.
- Managing recipients: You can add additional signers/fillers and assign fields to them.
- Preview: At any time, you can click the Preview button to verify how the completed form will look to the recipient.
Option B: Create a form from scratch
Choose this option if you want to create a document from scratch. In the following steps of the editor, we will go through the following stages:
- Customize content appearance: Use the toolbar to format text, add tables or lists, and align document content.

- Add fillers: Fillers are people who will enter the missing data. Give them unique names describing their role (e.g., Candidate, HR Manager, or Ordering Party).
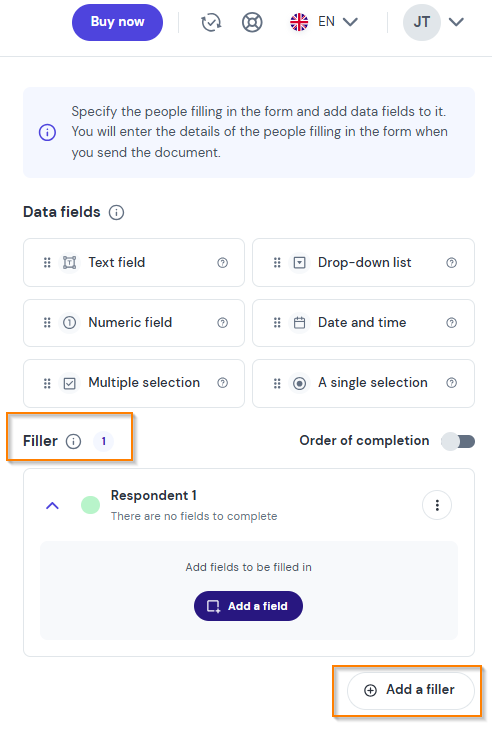
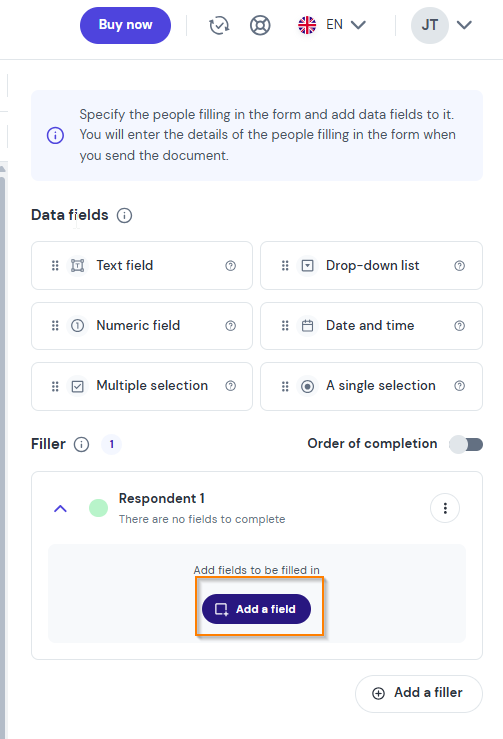
- Add fields to complete: Create data fields (e.g., text, dates), assign them to the appropriate fillers, and place them in the chosen location in the document.
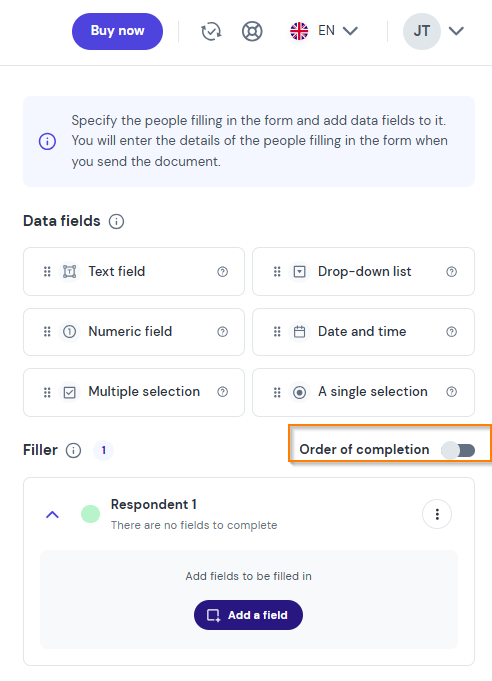
- Set filling order: Decide whether recipients can complete data at any time or if they must do so in a strictly defined order.
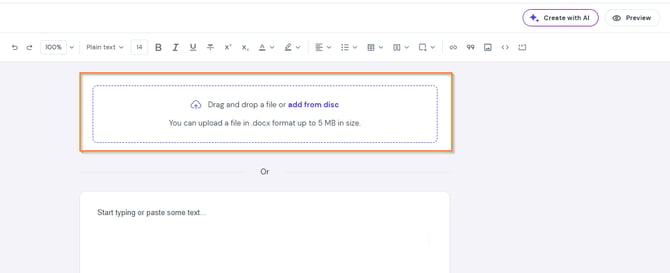
- Uploading your own file: You can upload a ready-made file from your disk and work directly on it.
Step 3: Go to form settings
Regardless of the selected option, after finishing work on the content and fields of the form, click the Form settings button.
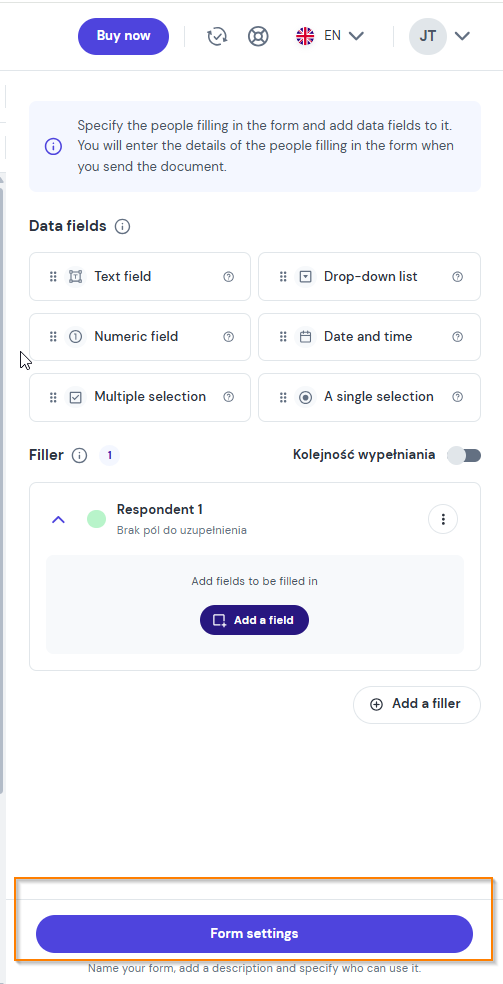
Step 4: Configure settings and save the form
On the settings screen, define the key parameters of the document:
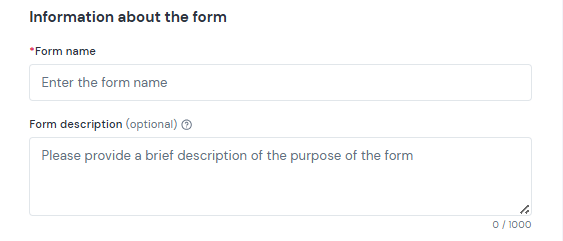
Form information:
- Form name– enter a clear name to facilitate identification.
- Form description – add a short description explaining the purpose of the form.
Access to the form:
- Private– the form will be visible and accessible only to you.
- Shared – you will share the form with other people in your organization (feature available from the eSign PREMIUM plan).
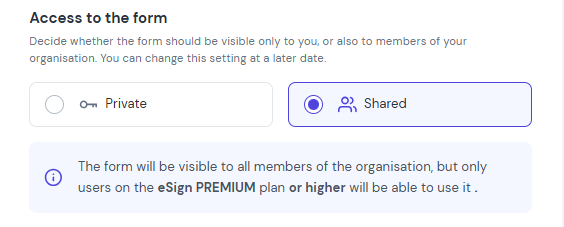
The form will be visible to all members of the organisation, but only users on the eSign PREMIUM plan or higher will be able to use it .
Super Admin Permissions: A Super Admin has the same permissions as the form owner- they can edit, delete, and change sharing settings- only for forms shared within the organization and provided they have at least a PREMIUM plan.
Process flow:
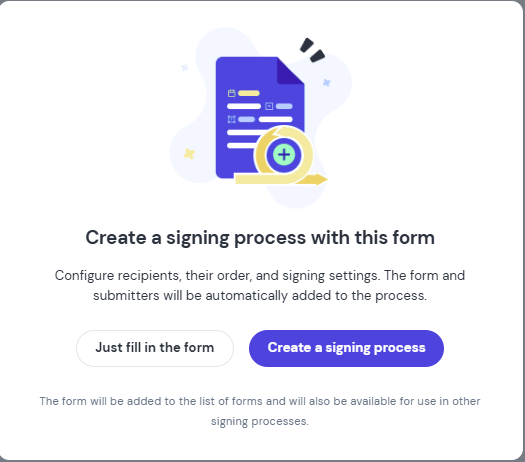
Decide what should happen after recipients complete the data:
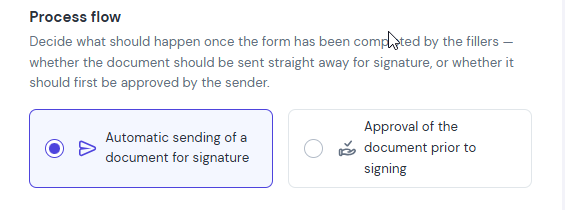
Save and close
After entering all changes, click the Submit the form button to publish the ready form. You can save this form as your own or exit without saving. If you save it, you will use 1 form from your available limit.
Can I edit a form I’ve already created?
Yes, you can modify an existing form at any time.
How to edit a form step by step:
- Go to the Interactive forms tab in the side menu.
- Find the form you want to change on the Form list.
- Click the three-dot icon next to the selected form and select Edit.
- Make your changes and save the form.
Will editing a form change data in documents that have already been sent?
No. A form can be edited exclusively from the Form list, and the introduced changes will be visible only in newly created documents. Recipients of previously sent documents will complete their original (earlier) version.
Have your interactive form ready? Check the next guide: [How to send a document using an interactive form?]